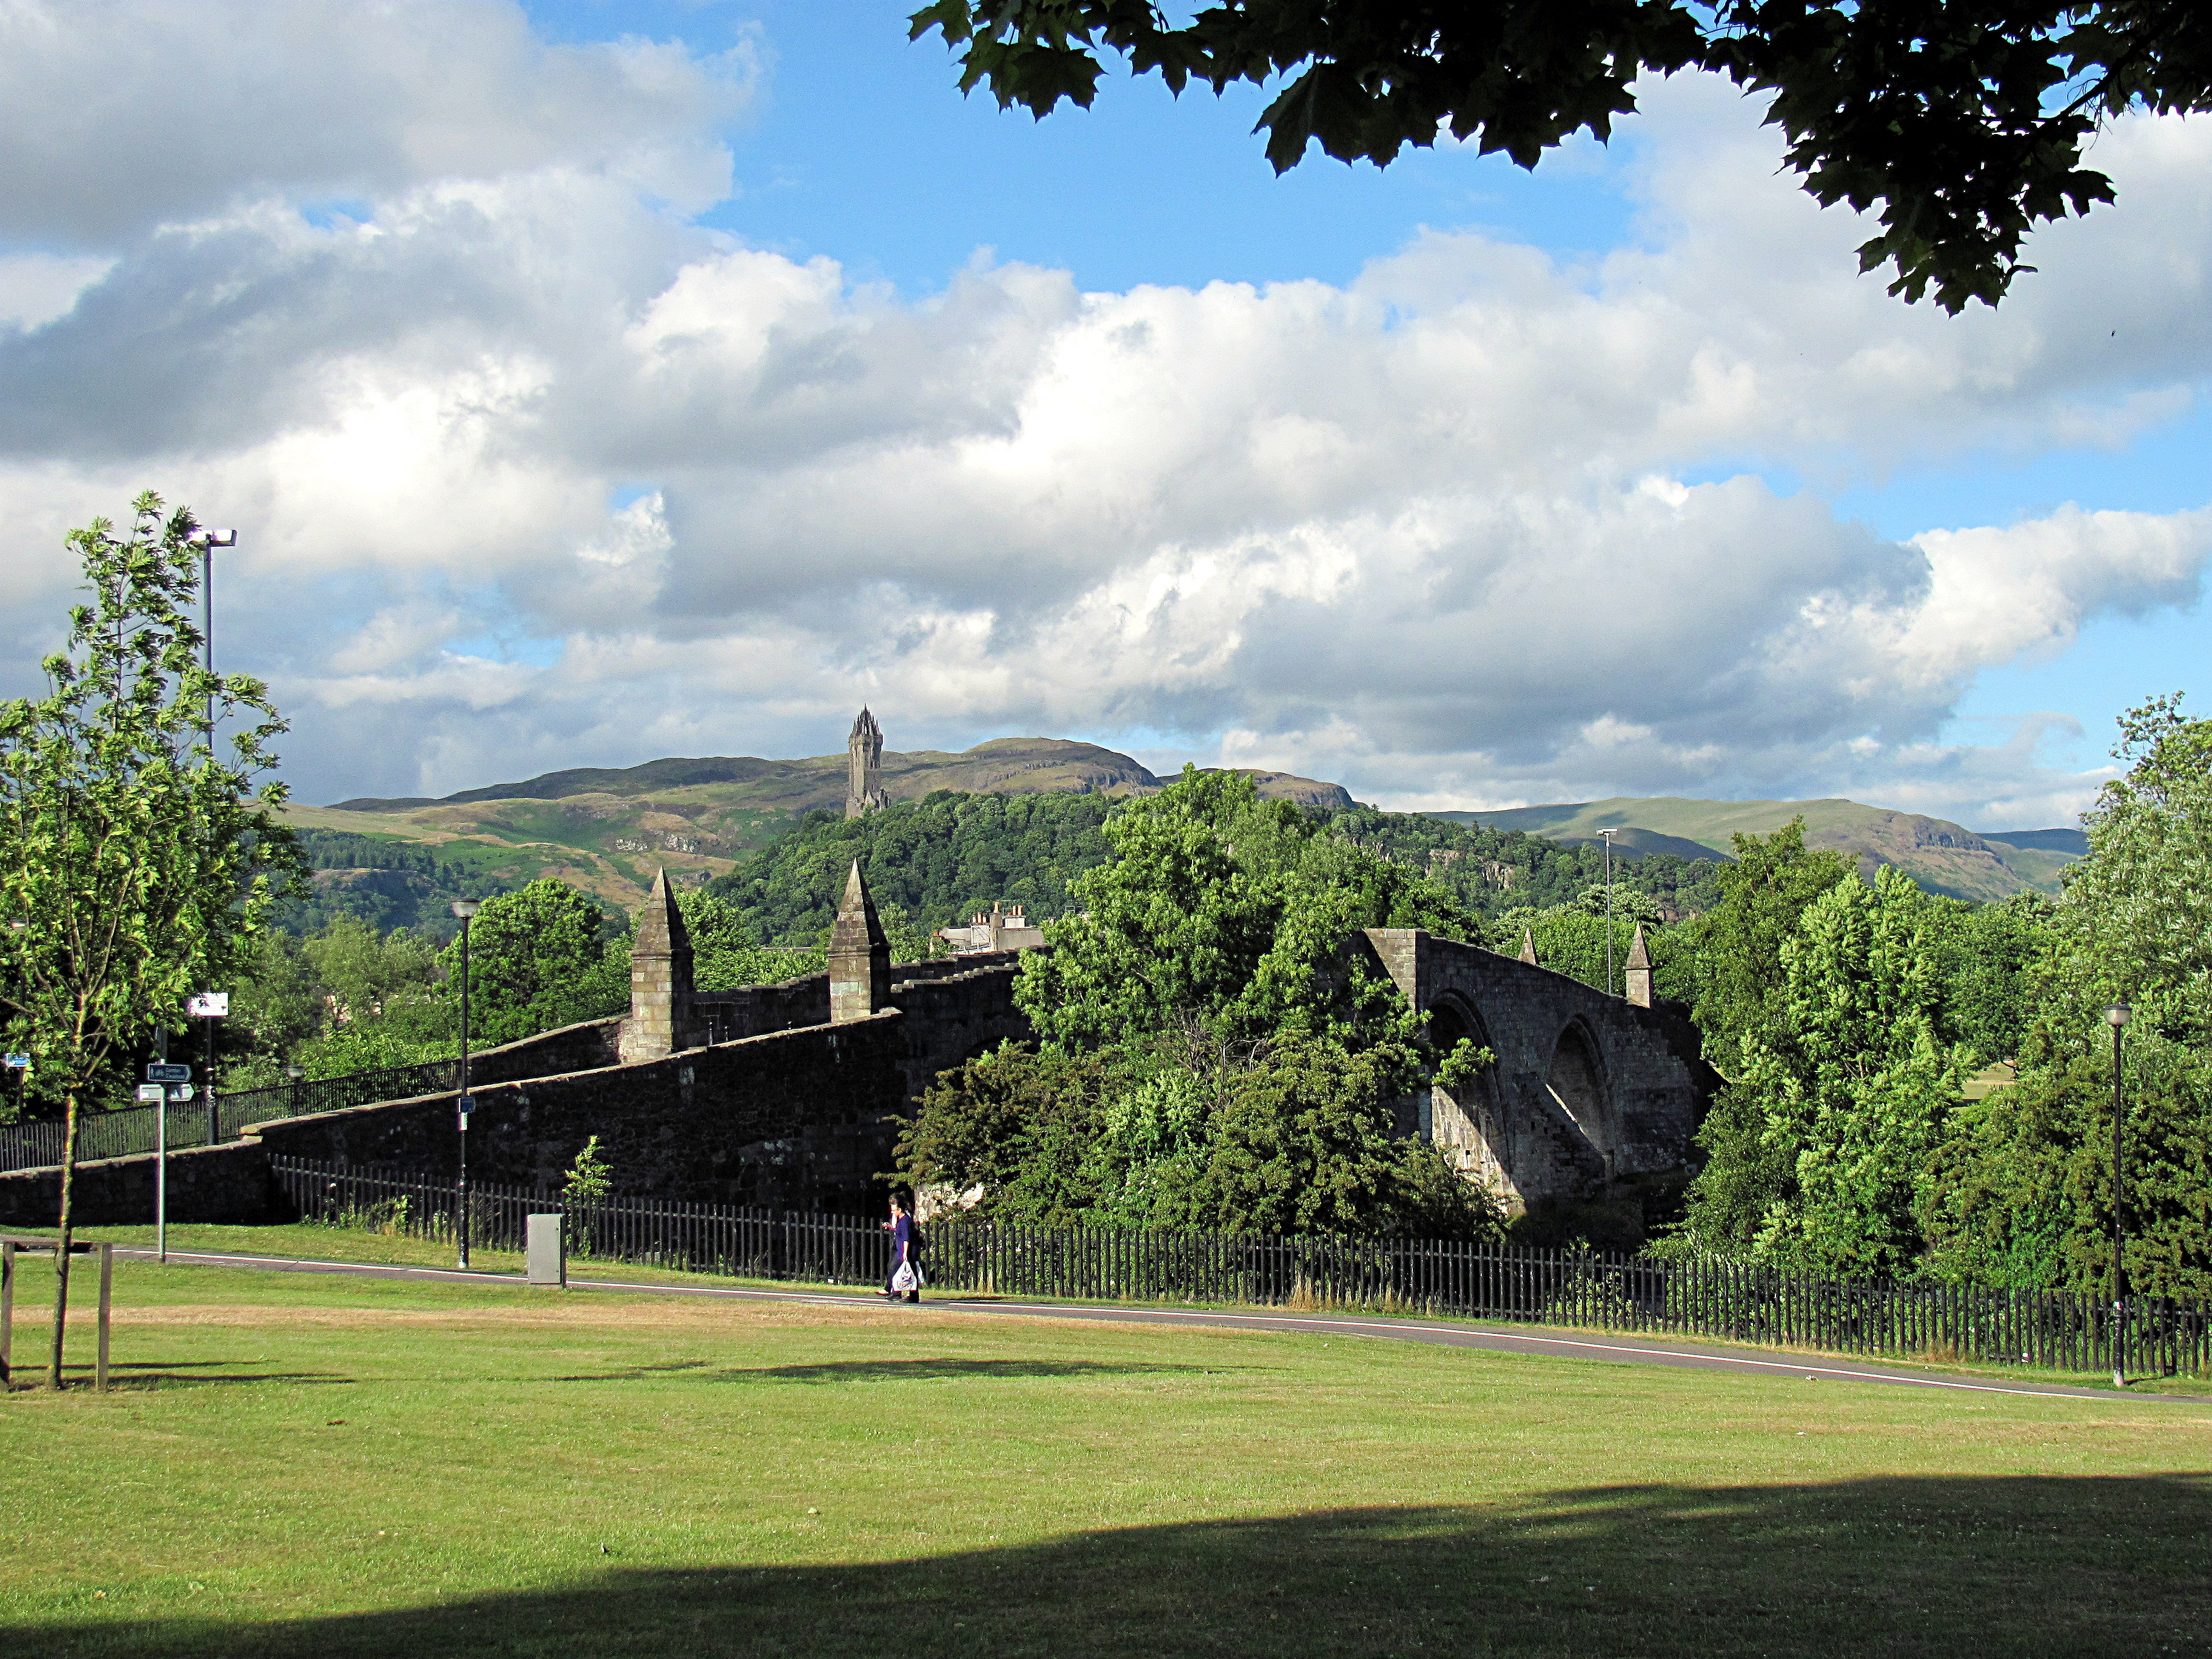

The Bottleneck Tactic That Won Stirling Bridge (11 September 1297)
After King Edward I of England moved to crush Scottish resistance in 1296, revolts broke out across the country. By the autumn of 1297, William Wallace and Andrew Moray were leading a joint command in the north, and an English army under John de Warenne, Earl of Surrey, with the treasurer Hugh de Cressingham handling logistics, marched to put the rebellion down. Chronicler estimates of the English force vary, as medieval troop counts usually do, but modern historians generally treat the highest chronicler figures, some medieval accounts claim as many as 1,000 to 3,000 cavalry, as exaggerated, and put the real English cavalry strength closer to 200 to 300 heavy horse, backed by several thousand infantry, still several times the size of Wallace and Moray's army.
The Scots did not meet that force in open field, where its cavalry would have been decisive. They held high ground at Abbey Craig, above a wooden bridge across the River Forth narrow enough for only two horsemen to cross side by side. Beyond the bridge, the causeway curved through boggy ground, hemmed in by the river on one side and rising slopes on the other, a chokepoint with almost no room to maneuver.
Wallace and Moray let the English begin crossing, then waited. Only once a substantial vanguard, estimated at 1,500 to 2,000 men, including much of the cavalry and Cressingham himself, had crossed onto the north bank and become boxed into the loop of the river did the Scots move. At a signal, the schiltrons charged down from Abbey Craig, sealed off the north end of the bridge, and cut down the trapped vanguard while the rest of the English army could only watch from the far bank, unable to cross fast enough to help. Cressingham was killed in the fighting. Moray was mortally wounded and died of his injuries roughly two months later, leaving Wallace as sole Guardian of Scotland.
This was not a lucky rout. It was a deliberate use of terrain to cancel out a numerically and technologically superior force, and it remains one of the best-documented tactical set pieces of the Wars of Scottish Independence, still described in detail by Historic Environment Scotland, which maintains the present Stirling Old Bridge near the battle site.
Falkirk (22 July 1298): When Longbows Broke the Schiltron
Stirling Bridge was a humiliation for Edward I, and in the summer of 1298 he personally led a large invasion force into Scotland to deal with Wallace directly. For this battle, Wallace organized his infantry into four schiltrons, dense circular or oval formations of spearmen carrying pikes roughly four metres (about twelve feet) long, forming a bristling defensive ring against cavalry, with archers stationed between the formations and a small cavalry reserve held back.
The battle initially favored the Scots. Marshy ground in front of the schiltrons blunted the first English cavalry charges, and the spear formations held against repeated mounted assaults, cavalry simply could not break a wall of long pikes. But Edward then brought his longbowmen forward. Firing volleys into the tightly packed, largely stationary schiltrons, the archers, many of them Welsh, opened gaps in the ranks that the spearmen, who had no shields to raise against arrows falling from a distance, could do nothing to close. Once the formations began to fray, English cavalry drove into the breaches and broke the Scottish line apart. Roughly a third of Wallace's army was killed, including his close companion Sir John de Graham.
Wallace escaped the field but resigned as Guardian of Scotland within weeks. His reputation as a battlefield commander never recovered, and the following years saw him shift toward diplomacy abroad and guerrilla resistance rather than pitched battles. Historians generally treat Falkirk as the first major field victory of the English longbow, a tactical lesson England would use with devastating effect against French cavalry decades later at Crécy and Poitiers.
What Wallace Actually Wore and Looked Like, Debunking Braveheart
The 1995 film Braveheart shows Wallace and his troops charging into Stirling Bridge wearing kilts in clan tartan patterns, with blue woad paint smeared across their faces. Both details are anachronisms, and costume and textile historians have been correcting the record on them for decades.
On the kilt: the belted plaid, or feileadh mòr, the earliest garment recognizable as a proto-kilt, does not appear in the historical record until the very end of the 16th century at the earliest, roughly three hundred years after Wallace's death. The small, modern kilt familiar today was not developed until the early 18th century. Clan tartan as a system of specific colors and patterns tied to specific families was largely codified even later, in the 18th and 19th centuries. In 1297, a Scottish man-at-arms from the Lowlands would have worn much the same basic dress as continental and English contemporaries: wool tunics and hose, a simple cloak, and mail armor if he could afford it.
On the face paint: blue body paint is associated with Roman-era descriptions of ancient Britons, most famously Julius Caesar's claim in his commentaries on the Gallic Wars that Britons dyed themselves with woad to look more fearsome in battle. It is also loosely tied to the Picts, whose name, from the Latin Picti, first recorded around AD 297, is sometimes translated as "painted people," though modern historians note that even this practice lacks confirming archaeological evidence. Either association predates Wallace's 1297 campaign by roughly a thousand years, and no surviving 13th-century chronicle, English or Scottish, describes Wallace's forces painting their faces or bodies.
The film also reshapes Wallace's biography: he is portrayed as a poor Highlander whose father was killed when he was a boy, but historians agree he came from lowland gentry, and his father was most likely still alive during his son's rebellion. Exactly where that father held land, though, is genuinely disputed rather than settled. The traditional account names him Malcolm of Elderslie, based in Renfrewshire, but that name traces back to Blind Harry's poem rather than any contemporary document. A 1999 re-examination of Wallace's own seal, attached to the Lübeck Letter discussed below, reads its Latin inscription as "William, son of Alan Wallace," a name matching a crown tenant of Ayrshire recorded in the 1296 Ragman Roll. Historian Fiona Watson argued from this that Wallace was "a younger son of Alan Wallace, a crown tenant in Ayrshire," though historian Andrew Fisher notes the identification still hinges on that Ragman Roll entry actually being Wallace's father, which cannot be proven outright. Much of what circulates popularly about Wallace's early life traces back to "The Wallace," a heavily fictionalized epic poem written by Blind Harry roughly 170 years after Wallace died, which historians treat with considerable skepticism as a biographical source even though it originated many of the enduring legends.
Capture, Trial, and Execution (1305)
After resigning the Guardianship following Falkirk, Wallace spent several years pursuing support abroad, a surviving French document references safe conduct on his behalf, and continuing a campaign of resistance rather than open battle.
He was betrayed and captured on 5 August 1305 near Robroyston, outside Glasgow, by the Scottish knight John de Menteith, who was acting on Edward I's behalf. Wallace was taken south to London for trial.
At Westminster Hall on 23 August 1305, Wallace was charged with treason along with a list of atrocities attributed to his campaigns. His defense rested on a point of law that historians regard as genuinely accurate: unlike most other Scottish leaders of the period, Wallace had never sworn fealty to Edward I, so he argued he could not be a traitor to a king he had never called his sovereign. A frequently quoted, more elaborate version of this statement, "I could not be a traitor, for I owe him no allegiance...he never received my homage", circulates widely, but it traces back to 19th-century retellings such as Patrick Fraser Tytler's 1831 history rather than to a surviving verbatim trial transcript. The underlying legal argument, however, is well supported by the record of Wallace's conduct.
He was convicted and executed the same day at Smithfield: dragged through the city tied to a horse, then hanged, and subjected to the further prescribed punishments for treason before being beheaded. His body was quartered, with the parts displayed at Newcastle, Berwick, Stirling, and Perth as a warning to other rebels, and his head was set on a pike on London Bridge.
The Lübeck Letter: Wallace's Own Words
Only one original document actually issued by Wallace survives today. Dated 11 October 1297, about a month after Stirling Bridge, and issued jointly with Andrew Moray from Haddington, it identifies the pair as "leaders of the army of the kingdom of Scotland" and is addressed to the merchants of Lübeck and Hamburg. It announces that "the kingdom of Scotland, thanks be to God, has by arms been recovered from the power of the English," and asks the German merchants to resume trade through Scottish ports now that they were safe again.
The letter bears Wallace's personal seal, the only surviving impression of it known to exist. The original is held today in the city archives of Lübeck, Germany, having been rediscovered decades later and returned there in 1990; it has occasionally been lent back to Scotland for exhibition, as detailed by the Scottish Archives for Schools account of the Lübeck letter. A 1999 reading of the seal's Latin inscription, "William, son of Alan Wallace," is the piece of evidence behind the modern case, discussed above, that his father held land in Ayrshire rather than the traditionally assumed Renfrewshire.
The letter matters historically because it is essentially the only unfiltered trace of Wallace's own voice that survives. Nearly everything else known about him passes through the hands of chroniclers writing after the fact, or through Blind Harry's poem, composed for a very different, legend-building purpose generations later.